How to Use Green Screen on CapCut in 2025?
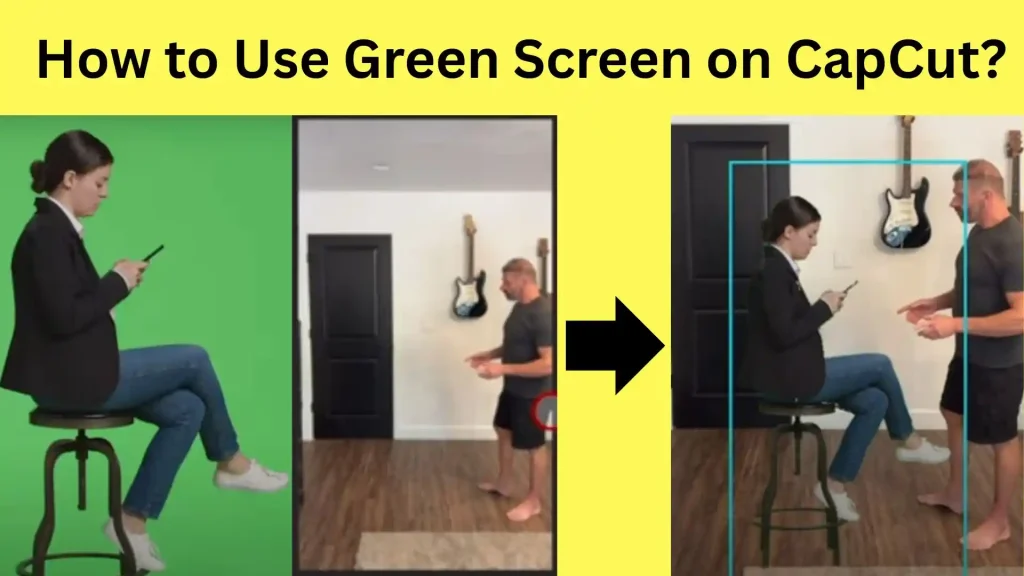
Editing videos on a green screen is a great way to make them look more professional and it is also lots of fun. With CapCut, you can do this easily. Whether you want to transport yourself to a beach in Hawaii or create a scene in sci-fi film, CapCut will assist you to get these effects. There are three different ways to do Green screen effects with this app i.e. Chroma Key, Auto Cutout, and Customized Cutout.
In this blog we will discuss How to Use Green Screen on CapCut ? its different methods with simple steps, and share some tips on using them effectively. By the end of this blog post, you will be able to create some amazing videos!
Why Choose CapCut for Green Screen Editing?
There are several reasons why CapCut is more famous in video content creators:
Ease of USE:
Because of its simple design, the green screen function can be used even if you have never edited a video before.
Free Access:
Green screen editing, together with most of the other capabilities of the app, can be utilized free of charge. When videos are exported, there is no watermark.
Media Library:
CapCut has a lot of stuff in it that can help you make great videos. You can find many stock videos, photos and music.
Versatile Tools:
Furthermore, there are green screen videos that feature a variety of backgrounds. These include common natural scenery, as well as some social media-related themes.
Social Media Sharing:
The green screen function in CapCut is editable. The application offers a variety of options that include adding text, using filters as well as inserting transitions. After editing your video you are able to share it on TikTok, YouTube or Instagram directly from the app itself.
The best part about CapCut is that you don’t need to spend a lot of money on expensive software or take any classes to learn how to use it!
Understanding Green Screen
In video production, a green screen is used as a backdrop as a solid green.When the subject and the background are similar colors, it’s hard for a computer to tell them apart. That’s why many screens are green — there aren’t many green clothes or green skin! But when you do want to use green (or another color) as a background you can still get rid of it in post-production with something called chroma keying.
The green screen features in CapCut have been designed so that you can take advantage of these same functions with minimal effort. All you need to do is upload your footage and change the background according to your circumstances.
Methods:How to Use Green Screen on CapCut
CapCut offers three ways to put on a green screen: Chroma Key, Auto Cutout and Custom Cutout in iOS, Androids, Windows / Online Web Portal. Each technique is unique in its own way and we will show you how to use all of them easily.
1. Chroma Key
A technique used in video production and editing called chroma keying is sometimes known as the green screen technique or green screen effect. It works like this: a certain color (usually green) is taken out of the video or picture, & then another background can be shown instead.
In this tutorial, we’ll learn how to do this with CapCut using its built-in chroma key function.
Upload Your Videos
Open CapCut Pro and start a new project. Import your green screen footage and the background video or picture you want to use into the project. If you do not have any green screen video to practice with, you can download some from Pixabay or use videos from CapCut’s video library.
Overlay the Green Screen Video
Add your background footage or image to the timeline, then tap “Overlay” and select “Add Overlay.” Choose the green screen footage and add it to the timeline.
Apply Chroma Key
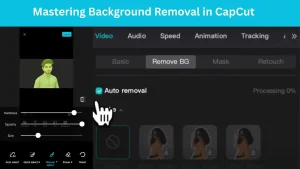
On the timeline, choose the green screen video clip. Proceed to the “Cutout” tab located in the “Inspector”. Check the box that says “Chroma Key”. This will reveal additional options. Click on the color picker tool and select the green background of your video. Adjust the “Strength” and “Shadow” sliders until you achieve the desired effect.
Export Your Video
Once you’re happy with the results, preview your video to make sure the background has been removed correctly. To export your edited video, tap the export button. You can select the resolution, format and frame rate of your video before exporting it. You can also export your video directly to TikTok or YouTube, or save it to your device.
Tips for Chroma Key
Some tips for using Chroma Key:
- Ensure your green screen is lit uniformly so that there are no shadows.
- Stay away from wearing green or shiny clothes as this can cause some parts of the person to disappear.
- Select a good background which is in line with the direction & lighting conditions of your original shots.
2. Auto Cutout
If you want to replace the green screen background with some other footage then you can do that easily with the help of CapCut auto cut-out Ai feature. All you need to do is follow these simple steps:
Step 1. Upload Your Videos:
Start a new project in CapCut. Import your video with a green screen, the background you want, and your main video.
Step 2. Overlay the Video
Drag your background footage to the timeline. Click on Overlay then Add Overlay and select the video with the green screen.
Step 3. Apply Auto Cut-out:
Select the green screen footage. Go to the “Cutout” tab and check the box next to Auto Cut-out.
Step 4. Add Effects and Export:
Add any other effects that you want. Export the video once you’re done editing.
Tips for Using Auto Cutout
Auto cut-out works best when the subject is clearly visible and separate from the background. It is not very effective if there are multiple people or complex backgrounds.
3. Customized Cutout
If you want to remove the green background from your video using the customized cutout feature on CapCut, follow these steps:
Step 1: Upload Your Videos:
Open CapCut, create a new project and upload both your green screen video & the background video to your media library.
Step 2: Overlay the Video:
Drag and drop the background video onto the timeline. Tap on it and then select “Overlay”, tap again on “Add Overlay” and choose your green screen video from the media library.
Step 3: Customized Removal:
Tap on the green screen video in the overlay. Go to “Cutout” tab & enable the “Customized Removal” option.
If you are a pro user, use the Smart Brush tool, otherwise use the eraser tool to remove the green background manually. Adjust the size of the brush for accurate removal.
Step 4: Export Your Video:
Once done, export your video after making all the necessary changes.
Additional Tips
Customized cutout is ideal when you have complex videos with multiple subjects or when you have intricate backgrounds.
It will take more time but will give you better control and precise results. Be careful and try not to leave any green marks on the edges of the subject.
Comparison Table
| Method | Steps Summary | Advantages | Disadvantages |
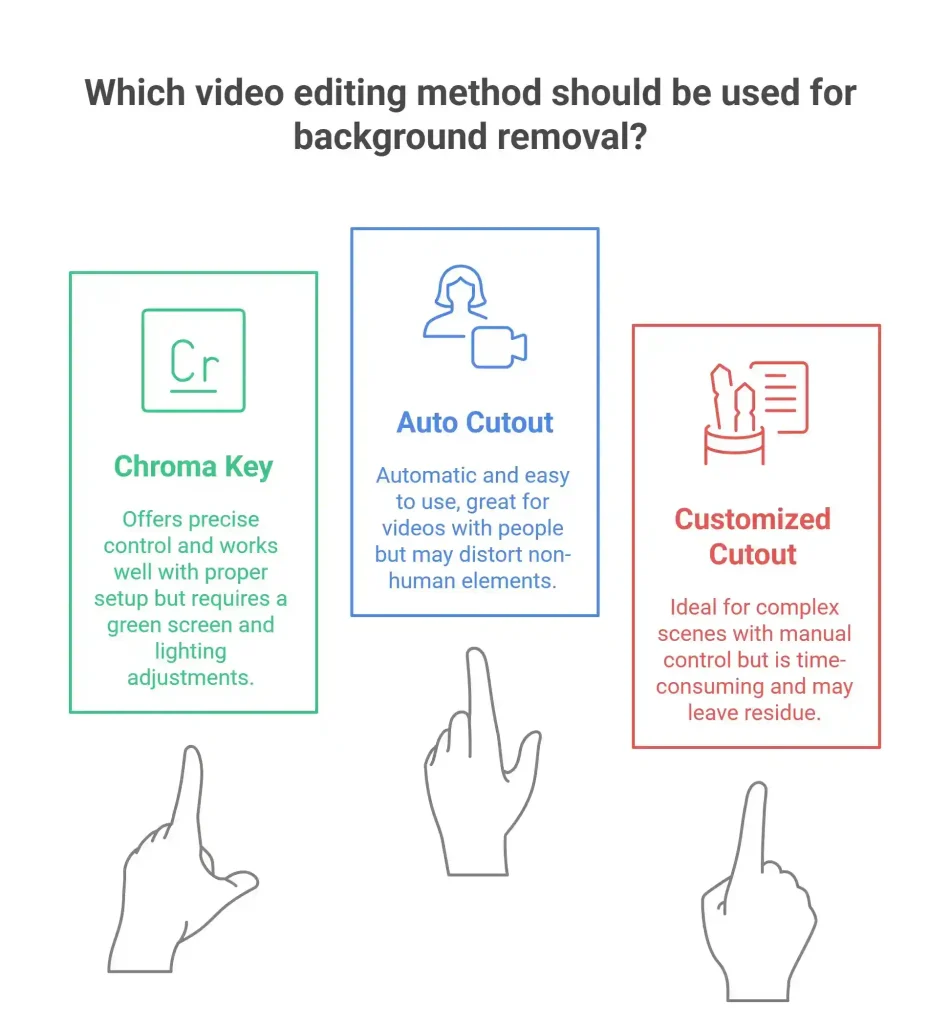
| Chroma Key | Upload videos, overlay, apply Chroma Key, adjust settings, export | Precise control, works well with good setup | Requires proper green screen setup, may need lighting adjustments |
| Auto Cutout | Upload videos, overlay, apply Auto Cutout, add effects, export | Automatic, easy to use, great for videos with people | May distort non-human elements, less effective for complex scenes |
| Customized Cutout | Upload videos, overlay, use Custom Removal, manually erase background, export | Manual control, ideal for complex scenes | Time-consuming, may leave green residue if not done carefully |
How to use green screen in Other Video Editors – a CapCut alternative
CapCut is a fantastic video editing app. Yet, it is just one of many great choices out there and there are lots of other editors that have some really cool features. For example: Adobe Premiere Pro, DaVinci Resolve and FlexClip etc.
All these applications have professional level functions like cutting, trimming & more advanced editing; some even have Artificial Intelligence (AI) which lets them make very smart edits in seconds!
You will also find a range of effects including filters; titles and overlays plus transitions that can be silky smooth and assist you to choose the style whatever you want to.
Comparison of Green Screen Features in CapCut Alternatives
| Video Editor | Ease of Use | Best For | Key Features | Cost |
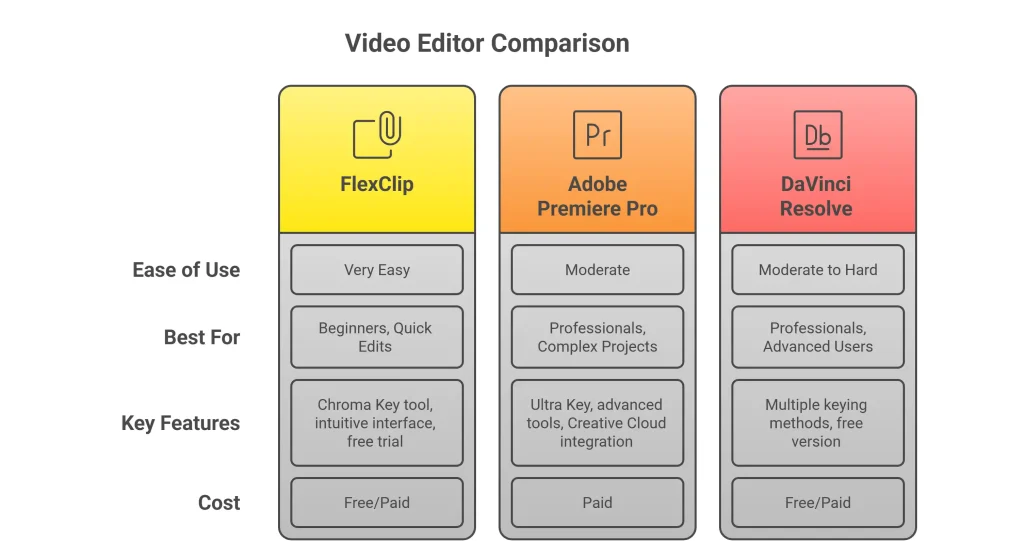
| FlexClip | Very Easy | Beginners, Quick Edits | Chroma Key tool, intuitive interface, free trial | Free/Paid |
| Adobe Premiere Pro | Moderate | Professionals, Complex Projects | Ultra Key, advanced tools, Creative Cloud integration | Paid |
| DaVinci Resolve | Moderate to Hard | Professionals, Advanced Users | Multiple keying methods (3D Keyer, Delta Keyer, etc.), free version | Free/Paid |
Common Mistakes to Avoid
Avoid these common mistakes when working with green screens if you want professional results:
Poor Lighting
Uneven lighting or shadows can make keying difficult.
Solution: Use softbox lights or LED panels to provide even lighting.
Wearing Green Clothing
Anything green will disappear against the background – including parts of your clothing.
Solution: Wear clothes in colors that contrast well with green.
Standing Too Close to the Green Screen
If you stand too close to the screen it can create a spill (reflection) of green light around your body which can be hard to key out.
Solution: Keep a distance of 3-5 feet between yourself and the screen.
Using a Low-Quality Green Screen
A cheap or poorly made green screen can have wrinkles or folds that cause problems when you’re trying to key out the background.
Solution: Invest in a good quality green screen and make sure it’s stretched flat.
Mismatched Background Perspective:
If you don’t match the perspective of your background with that of your footage it will look fake – and can even give viewers vertigo.
Solution: Use backgrounds with matching angles and lighting to your footage.
Conclusion
The green screen function in CapCut is perfect if you want to produce some professional looking videos or get creative with your edits. You can use Chroma Key, Auto Cutout or Customized Cutout depending on the complexity of your background. Each method has its own advantages. You can achieve your goals and excellence in editing through practice and use of AI.
So, That’s All. Just make sure you read through above mentioned tips and step by step guide first so that you avoid common pitfalls or mistakes; then go wild or bigger or complex.

