How to Master Transitions in CapCut
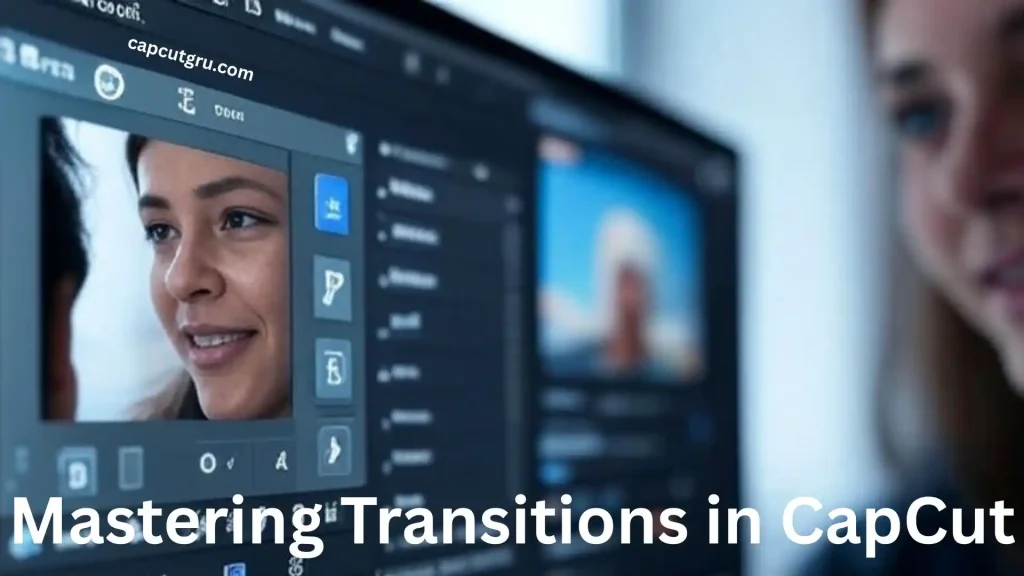
For content creators, CapCut has provided an easy way of editing videos because of its user friendly features and effectiveness. It does not matter whether you are working on a Tiktok clip, a YouTube vlog or paid tutorial; one must understand in depth the basics of transition effect application to make cool and interesting videos. The joining elements are very important as they join one clip to another naturally and without any problem with the flow of the story.
At the end of this, you will have what you need to improve on your video editing skills and come up with refined content.
Why Transitions Are Important?
Aside from being visual effects, transitions also serve as narrative devices which help in shifting from one episode to another. Placing a transition rightly can help in setting the tone, keeping the viewer engaged, and giving your video a professional look. With a wide variety of free transitions including some of the latest ones such as Glare but also those good old fades CapCut caters for newbie as well as experienced editors.
Step-by-Step Tutorial / Guide
Adding Transitions on Mobile
The CapCut mobile application is great for fast editing while on the move. In this manner can you incorporate transitions?
- Open CapCut and Start a New Project
Open the CapCut app on your cell phone. Then click on “New project”. If asked, give permission to access the pictures from your gallery. - Import Your Video Clips
Choose the clips that you prefer to use from either your gallery, cloud storage, for example, Google Drive or Dropbox, or CapCut’s Myspace then click on “Add” to include them. - Arrange Clips on the Timeline
Arrange the clips in any order of your choice by dragging and dropping them on the timeline. - Access Transitions
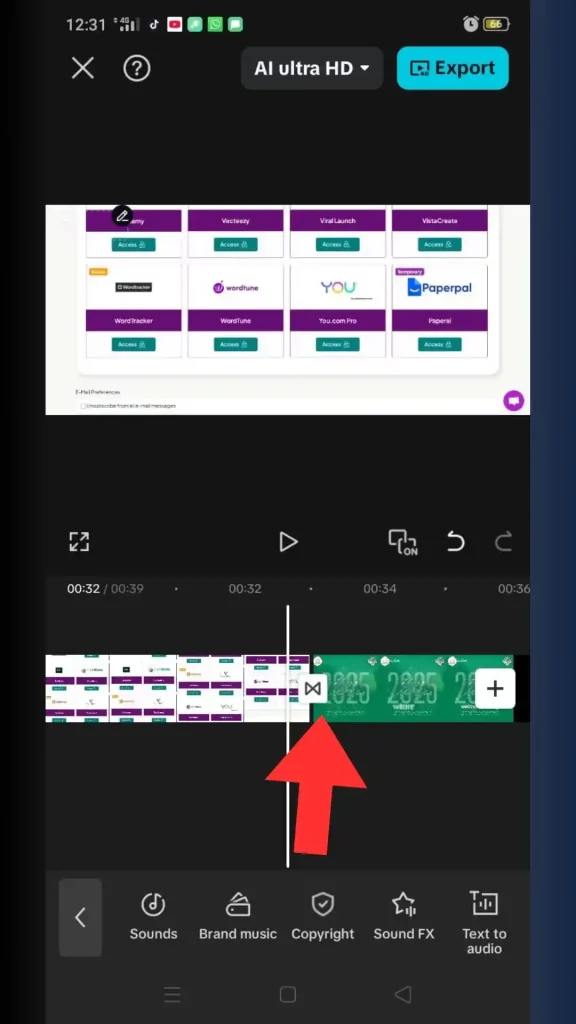
In the timeline, there is a small white icon located in-between two clips. By tapping on this icon, it will open for you the transitions menu where you will find such options as Trending, Basic, Camera, Overlay, Light Effect, Split, Distortion, Glitch, Blur, Social Media, Slide, MG, and Mask categories. - Choose and Customize a Transition
Look through the transitions that are provided and choose one that will match with the style of your video. You can make the duration longer or shorter by moving the white circle or using the slider. - Apply the Transition
After you are done with that, select the tick at the bottom left corner to effect your change. If you want the same transition for all clips, tick on the “Apply to all” before clicking “OK.” - Export Your Video
Having included all the necessary transitions, click on the export button which is an arrow found on the top right part of the screen. Select the export preferences (resolution, format, etc.) and save it on your device or share it through social media such as TikTok and Instagram.
Adding Transitions on PC
Once you have added the required transitions, click the export button. This button is in the form of an arrow located at the top right section of your screen. Choose where you would like to save it after selecting some export preferences (resolution, format, etc.) for TikTok, Instagram or other social media.
Advanced: Adding Text Transitions
Text transitions work best in tutorials or educational material that heavily relies on written content. Below is a guide on how to go about it:
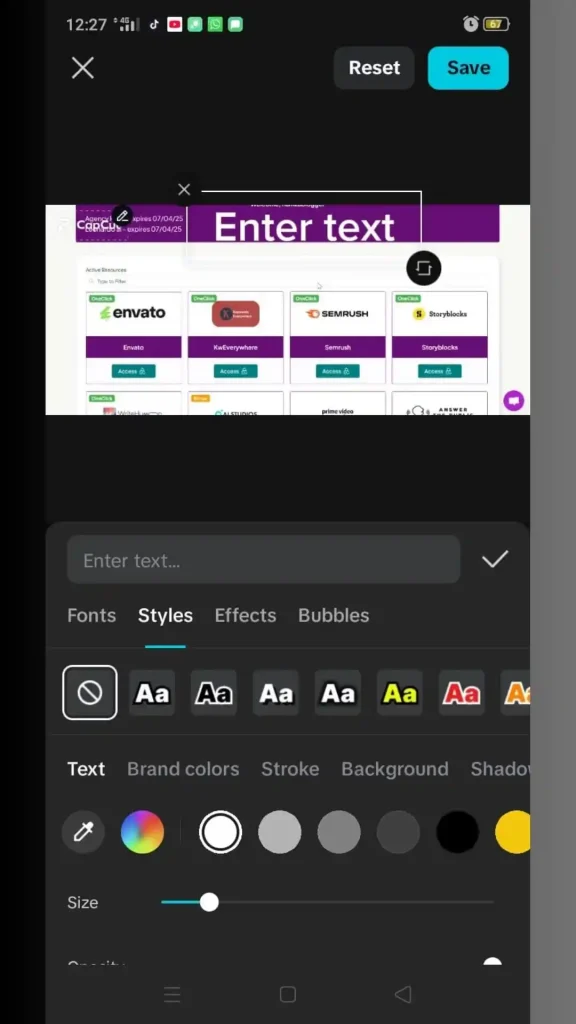
Add text onto clips: Include text captions and then decide on the styles to use such as the fonts, colors, and animations available.
Make a compound clip: Highlight all the clips with texts and click on “Create compound clip” so that they can be grouped together
Split the clip: Employ the cutting tool to divide the compound clip on positions in which there are changes of the text
Insert transitions: Introduce transitions between the cut clips so as to achieve a smooth flow of text transition.
Finding and Using Specific Transitions
CapCut provides different kinds of transitions in which some are widely used because they are not only simple but also very effective. Check out the top ten recommended transitions below:
| Transition Name | Description | Best Use Case |
| Glare | Trendy effect to chop between clips | TikTok, Instagram videos |
| Pull In | Smooth zoom-in effect | Social media content |
| Pull Out | Smooth zoom-out effect | Natural scene transitions |
| Auto Cutout | Advanced effect for pro-level content | Engaging, high-impact videos |
| Speed Ramp | Adjusts clip speed for motion | Dynamic, energetic videos |
| Fades | Classic Fade In/Out, sets mood | Calm, storytelling videos |
| J Cuts | Audio from next clip plays early | Suspenseful transitions |
| L Cuts | Video transitions, audio continues | Dialogues, narrative videos |
| Masking | Reveals/hides parts with shapes | Creative, artistic videos |
| Custom Transitions | Combine effects for unique results | Personalized, branded content |
In order to locate particular transitions, you can:
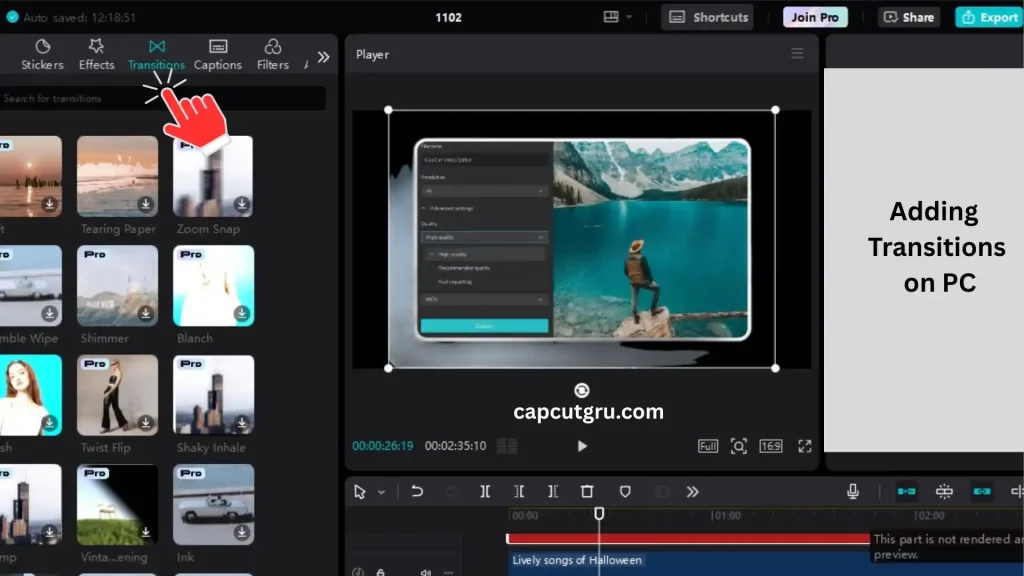
On PC: To find transitions such as Glare or Masking, type it in media panel search bar.
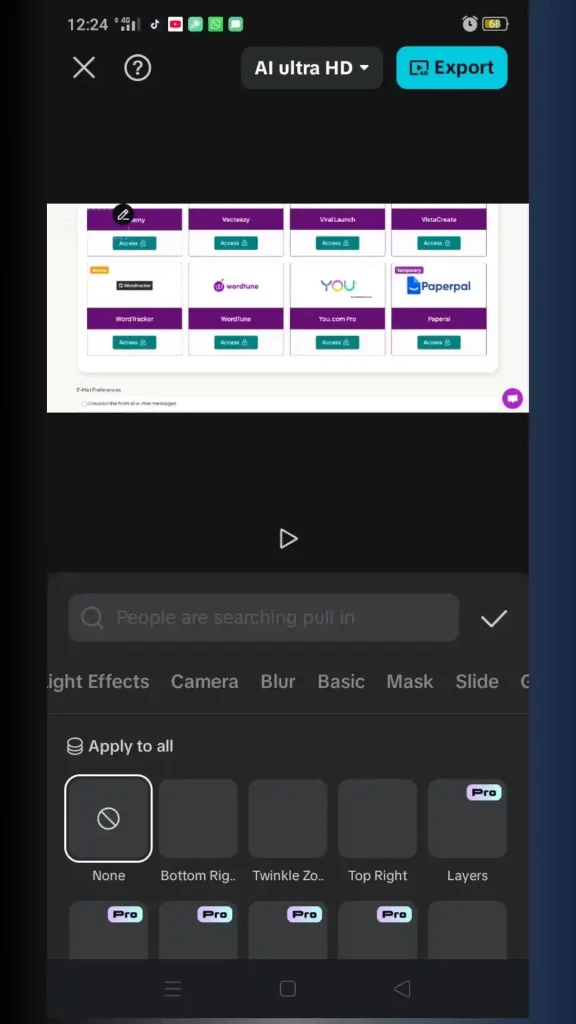
For smartphones: click transitions, then input words transition search bar( e. g. click smooth for a smooth effect)
Tips and Best Practices
In order to enhance the visibility of your transitions, you may consider the following:
Plan in advance
Make up your mind on the most appropriate transitions for the storyline of your footages even before you start editing.
Experiment
Attempt different transitions until you identify the one that suits your content best.
Match the mood
The choice of transition should be based on the tone of the video – for example in calm videos it would be better to use smooth fading, in dynamic – some glitches would work fine too!
Use compound clips
Create compound clips for complicated transitions to make editing easier.
Keep it short
Ensure that the transition period does not exceed two seconds so that the audience does not get bored.
Preview and refine
Watch out for any imperfections in the way the transitions appear and correct by using keyframes for accurate control (How to Add Keyframes in CapCut).
Draw inspiration
Look for ideas from some transitions employed by TikTok and Instagram creators.
Additional Features
Alter or Change Transitions:
Tap the transition icon (crossed lines) in mobile or select on the PC timeline and then you can proceed with changing it to a different one, after which you will modify the duration if necessary before finally effecting these changes by clicking apply.
Removing CapCut Branding:
Slide to the very end of your edition, tap on “Ending,” and eliminate this cap cut clip for good (How to Remove CapCut Watermark).
Automatic Transitions:
CapCut provides an AI-powered transitions in “ShortCut” which is not as customizable as the manual one but still can be also used by clicking on a few buttons.
FAQs
Conclusion
Learning how to use transitions in CapCut can completely change the kind of high-quality and interesting videos one can make. In this guide, you will learn how you can apply these transitions in your mobile phones or PCs. Also you will find out about some interesting features such as Glare & Fades?

