How to Make Travel Vlog with CapCut in 2025
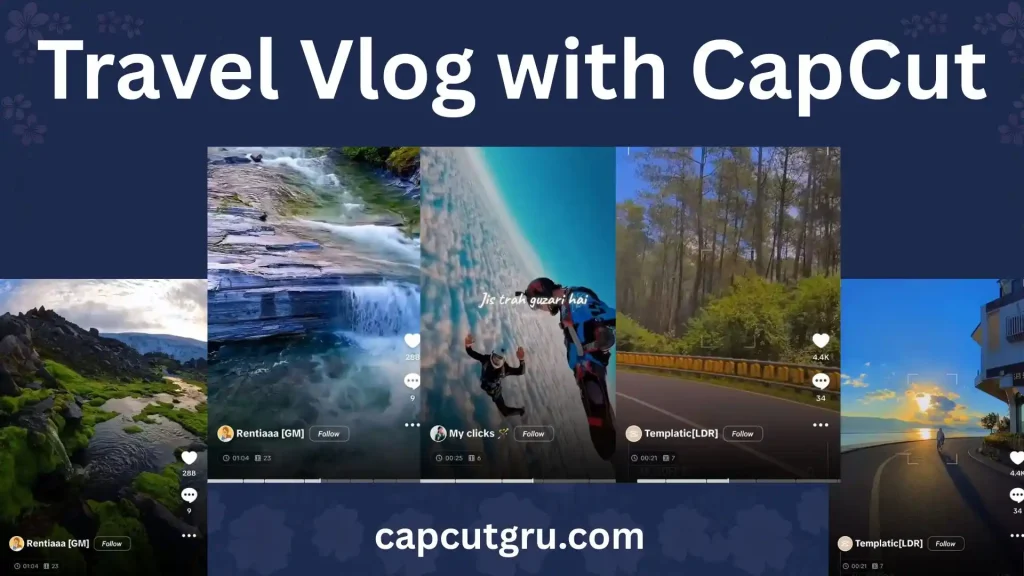
The popularity of travel vlogs can be attributed to various social media platforms. Many individuals view such clips & get inspired particularly by seeing a number of friends going for a trip and having fun together. If done right then this kind of travel vlog will remind you of the fun time in your past– even in a quiet or crowded environment!.
Since, CapCut is an uncomplicated, easy and free video editor that turns boring videos into cool films or reels, so to create an effective travel vlog through CapCut follow this manual.
1. How to make travel vlog with capcut: Get Started
Downloading and Installing CapCut
Prior to downloading CapCut for free and easy setup from Appstore, Google Play or CapCut, ensure that your iOS, Android or desktop has enough space to function properly.
Creating an Account
CapCut is available for download at no cost in its iOS, Android and PC versions. Ensure that you download it from the App Store, Google play or the approved CapCut site & also remember to keep some free space in the device for proper operation.
Download and then install the app, after which open and click on sign up using your email or social media (Google or Tiktok).
2. Importing and Organizing Your Footage
Importing Media
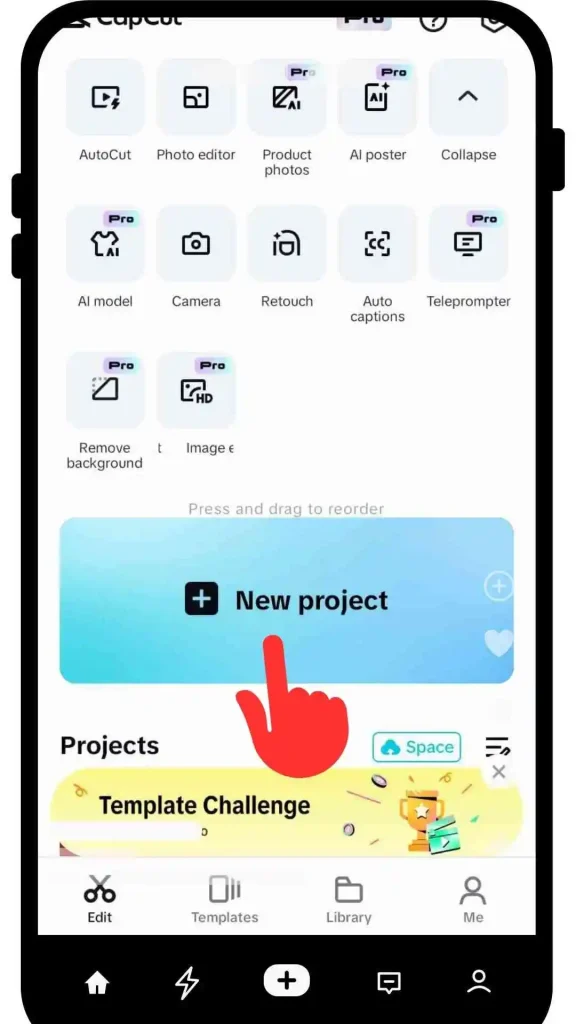
Upon clicking on the “New Project” icon, you can input video clips, images as well as audio files in your device. This is possible because it works well with most file types!. Therefore, one can bring in his drone footage, GoPro clips or phone videos through any format since the application will read it without causing much problems on compatibility issues.
Organizing Clips
Give names to your clips (e. g. “City Tour”, “Sunset Beach”) and afterward arrange them in separate folders within the CapCut media library. With this, you will be able to have an organized project file even if your trip lasted for many days.
Selecting the Best Shots
Choose videos that evoke feelings or tell a story. Maintain viewer attention by using highly dynamic visuals like wide breathtaking views and stolen glances. In addition be sure to include different long shots and close-ups so as not to make it monotonous!
3. Crafting a Compelling Narrative
Storyboarding
Before making any change or editing your vlog, you must see your competitor and organize your content so that it must be interesting and engaging for your audience. So, for storyboarding, you should have a plan that maintains continuity, engagement and coherence.
Beginning, Middle, End
Introduction:
- You must begin with a short clip either it should be taken yourself or through a drone to make your entire storyline for your audience.
Body
- This part is more interesting in your trip. This will engage the audience to the end. This part comprises food, greenery, waterfall, hotel or anything according to your destination.
Conclusion
- Before wrapping up, you have to provide rich information, some motivational call to action measures or recommend that this experience is firsthand.
Incorporating B-Roll
To make your video content rich and user centric just add some extra footage of walking, hotel facilities, people hospitality etc so that the audience gets emotional and takes you seriously. In this regard, CapCut should be used for adding b rolls in the main footage to come up with interesting footage.
4. Editing Techniques to Enhance Your Video
Trimming and Cutting
You should delete unnecessary parts of your vlog through the “Split” tool. Your vlog must be 5-10 minutes in length or according to your shared platforms. Moreover, you must also adjust the timeline edges to sum up or change the clip durations wisely.
Transitions
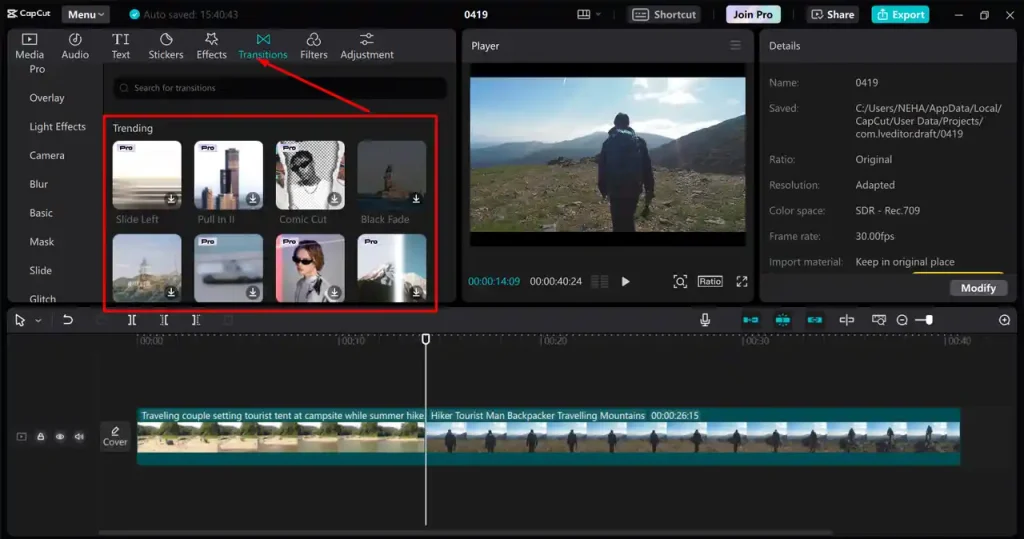
By using CapCut, you can incorporate fades, zooms and swipes as your transitions between two footages in order to make the joining of two scenes less abrupt. Don’t use too many fancy effects if you want your work to look professional as sometimes simple things are better.
Speed Adjustments
Create suspense by using slow motion, for example waterfalls, and dynamism through time-lapse like city traffic. Adjust clip pacing by using the “Speed” tool, ensuring that it suits your vlog’s mood.
Color Grading
Improve the appearance using the “Adjust” tab in CapCut. It is possible to make dull beach photos brighter and lift the level of saturation in busy market pictures. If one wants to have everything in one particular style, he or she can apply filters that will add some warm tone to images of tropical nature.
5. Adding Audio Elements
Background Music
You can select music that matches your vlog’s mood from CapCut’s library of free songs or by uploading yours on the “Audio” tab. Pick the perfect music for your vlog, for example, an energetic track for a trip around the city or calm tune for travelling out of town.
Voiceovers
You can record voiceovers on your trip using CapCut. Go to “Voiceover” under “Audio,” say something clearly and make sure that it fits well with what is being seen on this part. You may adjust the volume so that it doesn’t overshadow the background music.
Sound Effects
You can also make your vlog feel alive and immerse the audience more by adding ambient sounds from CapCut’s sound library; for example, waves crashing or street chatter.
6. Incorporating Text and Graphics
Titles and Captions
Include captions to point out important events and statements and to highlight key moments or quotes.
Subtitles
To make it easier for people to view, you can put captions or subtitles. You can either utilize CapCut’s auto-caption function or type directly by choosing “Text” then “Subtitles.” Modify the typography and color so that it will go with your vlog’s style.
Stickers and Emojis
Make sure you personalize your vlog using stickers like those that represent traveling such as airplanes and maps. You can get them in the “Stickers” tab and change how small/large they are or whether they move to make everything more fun.
7. Utilizing CapCut Templates for Travel Vlogs
Exploring Templates
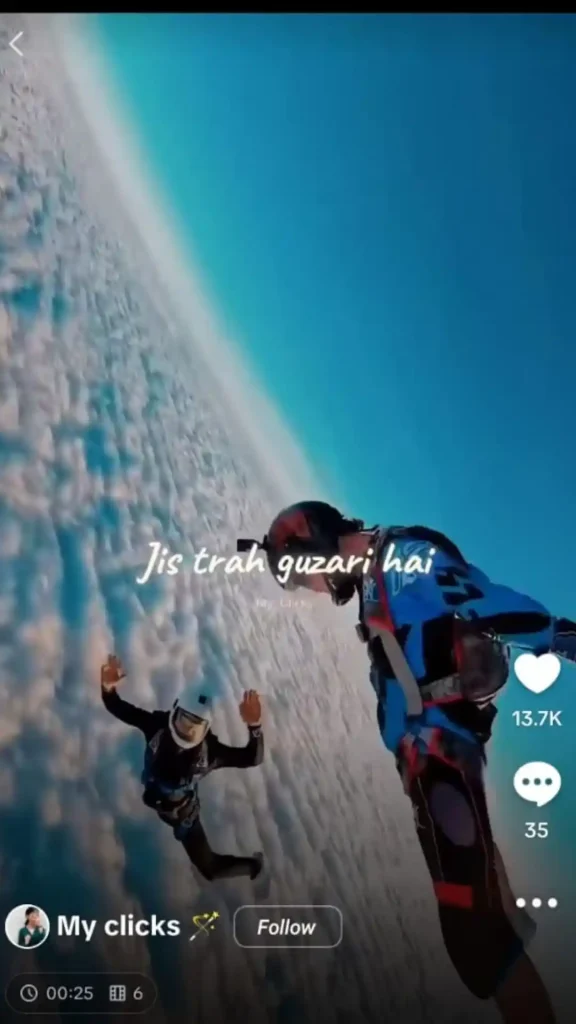
In CapCut’s template library, you will find designs meant for travel. To do this, click on the “Templates” tab and browse through by clicking on “Travel” or “Vlog.” By previewing the templates, you can see which one best complements your footage.
Customization
Substitute the template holders with your videos and images. Change the text, colors, and effects to match your brand. By using templates, you can be fast and still make sure everything looks nice and professional.
Benefits
Templates make it easier to edit even for those who are not so experienced and also provide room for creativity. This is because they are tailor made to suit social sites such as Instagram and TikTok thus increasing their popularity when shared.
8. Exporting and Sharing Your Vlog
Export Settings
Select the 1080p resolution and 30 FPS which is suitable in most cases for many platforms but choose 9:16 aspect ratio for Instagram Reels or TikTok. Click on “Export” then choose what quality you would like to save it as.
Sharing Options
You can directly upload your vlog from CapCut to YouTube, Instagram or TikTok using the share menu. Make sure to save a copy on your device so that you can post in other platforms and have a back up.
Optimizing for SEO
Create titles that attract clicks (for example “exciting places in Bali – epic travel video!”), detailed descriptions featuring specific keywords such as “travel vlog” and “CapCut editing,” as well as related tags. Your thumbnails must stand out with bright colors.

9. Advanced Tips and Tricks
Keyframe Animations
Using keyframes for making specialized animations such as zooming in on important landmarks. Open the “Animation” tab, place keyframes, and change parameters such as scale or position for an animated effect.
Green Screen Effects
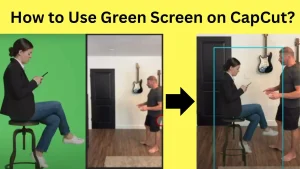
To change the backgrounds, use CapCut’s “Chroma Key” tool. Record in front of a green screen, and change the green screen to beautiful landscapes or interesting backgrounds in the “Effects” tab.
Multi-Layer Editing
Stack several audio and video tracks to make advanced edits such as picture-in-picture effects. Arrange the clips in layers on the timeline in order to adjust their timing properly.
10. Troubleshooting Common Issues
Lagging or Crashing
In order to edit smoothly, close other apps or reduce the project resolution in CapCut. Make sure that your device is equipped with a RAM capacity of not less than 4GB for smooth editing.
Audio Sync Problems
Ensure that the audio and video frame rates are the same. In case of desynchronization, you may have to readjust the audio track using the timeline.
Export Errors
To make sure that there is enough space on your device before exporting, you can either clear CapCut cache at settings or lower the export quality.
Conclusion
It is now easier to create a breathtaking travel vlog using CapCut because of the user-friendly facilities and interesting options provided in the application. Everything about how you can make your trip come into reality such as putting down interesting stories, employing some special effect at times in the cinema, has been discussed in this manual; therefore start modifying it now and communicate your individual travel narrative with the world.
Start editing today, and share your unique travel story with the world!

